



This guide will show you how to set up the ExpressKeys app for macOS. ExpressKeys is available with an active ExpressVPN Advanced or Express Pro subscription or as a standalone subscription.
- Find ExpressKeys in the Mac App Store.
- Click Get (or the cloud icon) then Install to download the app to your Mac.
- From the App Store, click Open or locate ExpressKeys in Finder > Applications and double-click to open it.
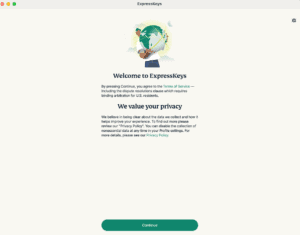
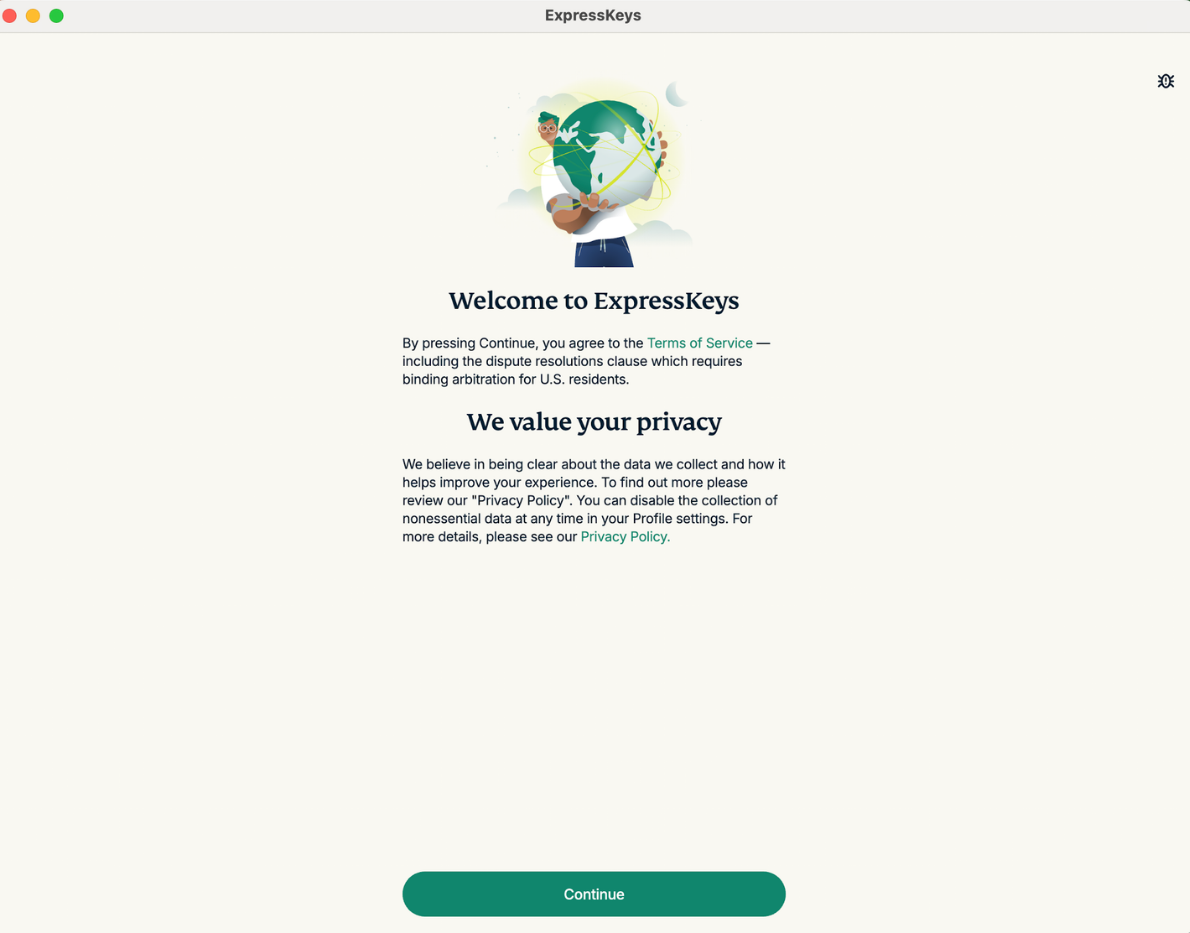
- In ExpressKeys, click Continue on the privacy screen.

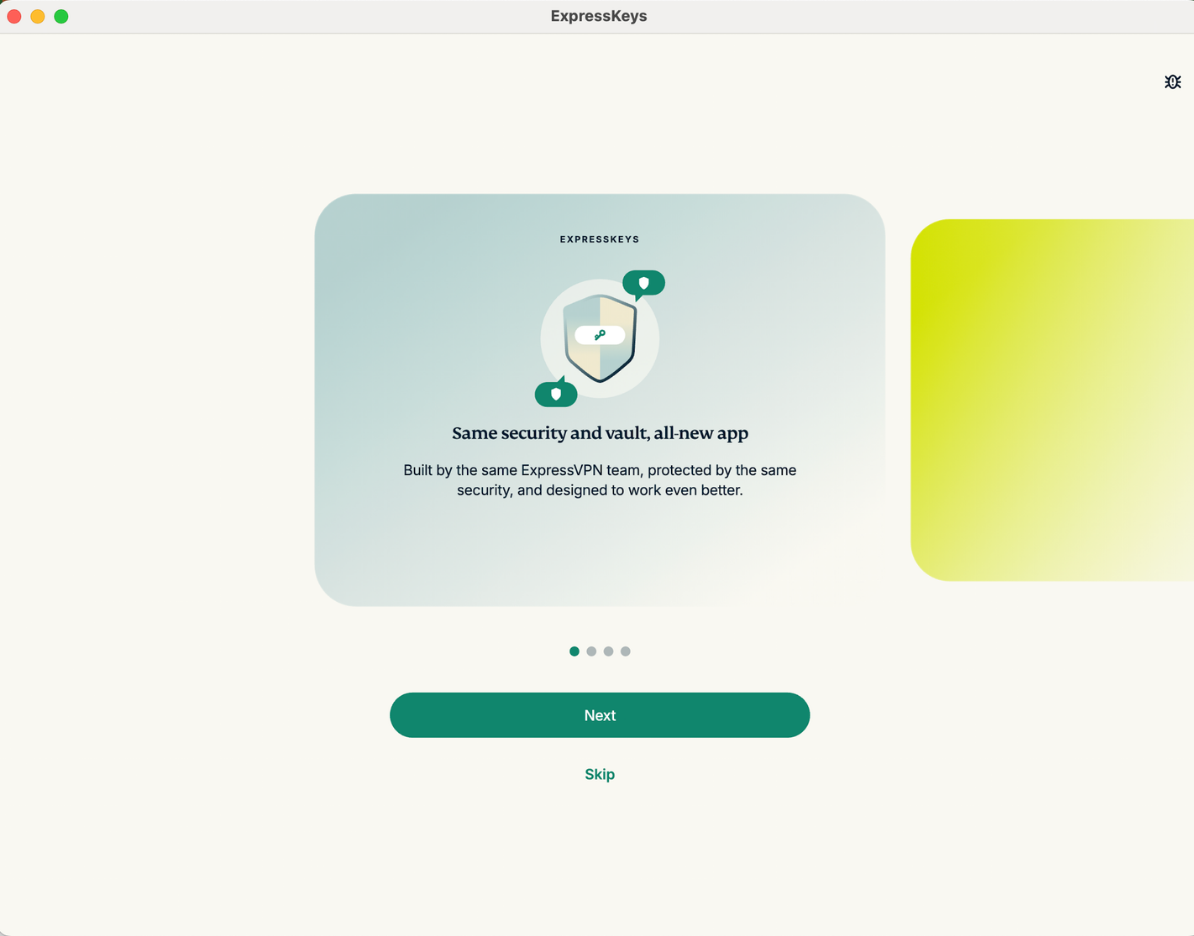
- Click Next or Skip to move through the welcome screens.
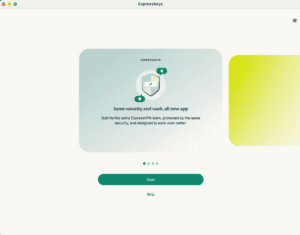
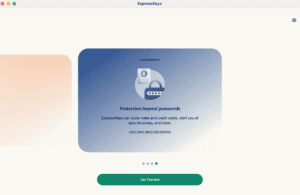
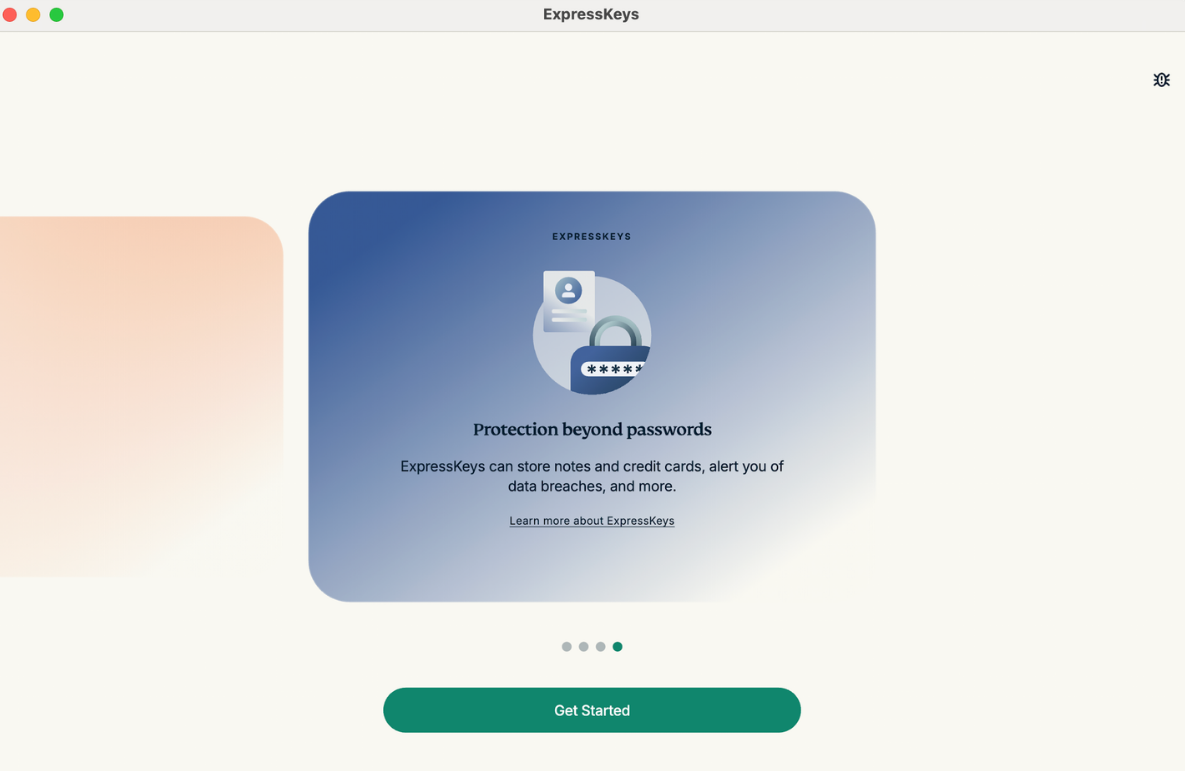
- On the last screen, click Get Started.

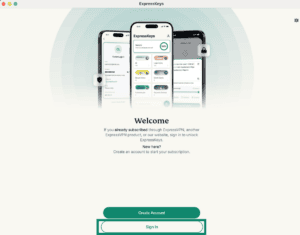
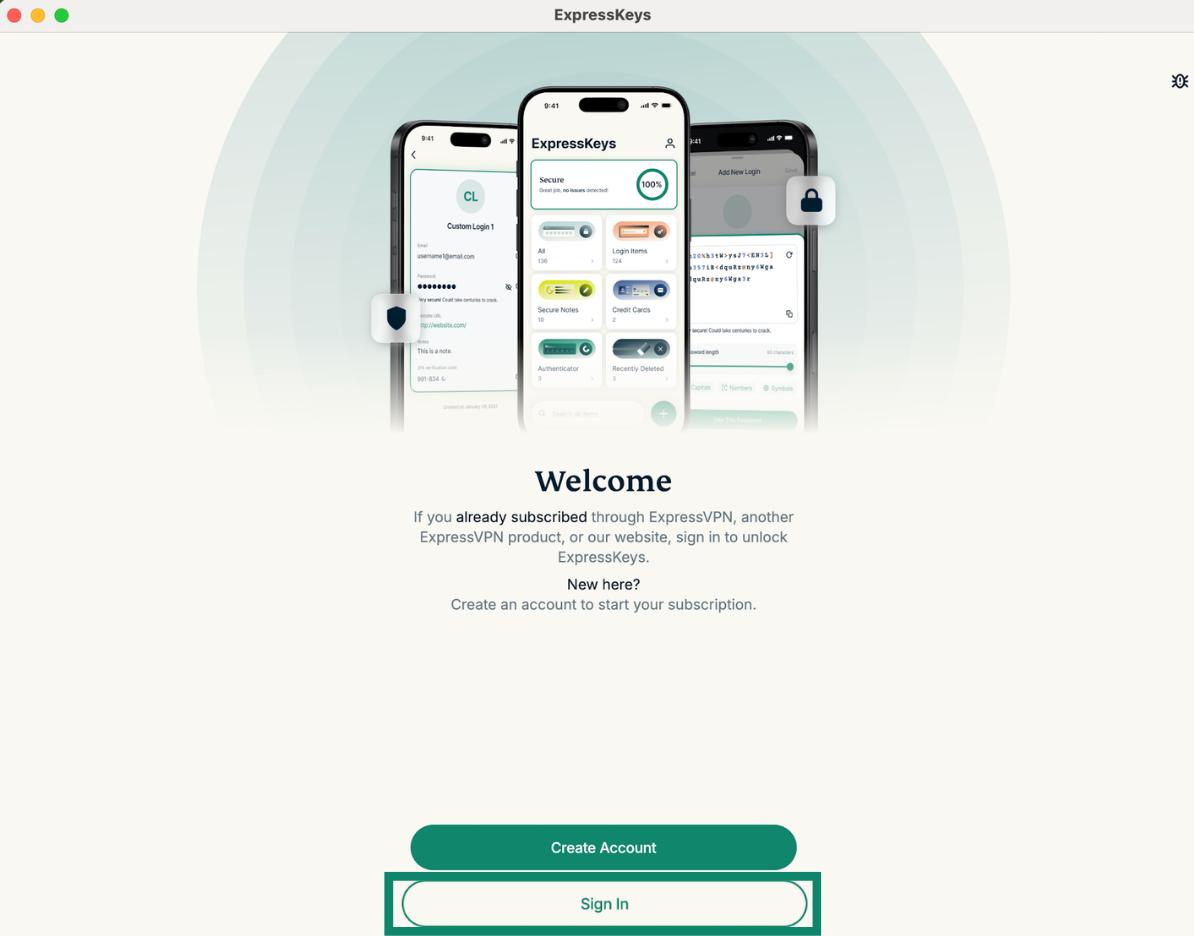
- If you already have an ExpressVPN account, click Sign In.
- Note: If you don’t have an ExpressVPN account and want to purchase your subscription from the Mac App Store, click Create Account and follow our guide to in-app purchases in ExpressKeys.
- Note: If you don’t have an ExpressVPN account and want to purchase your subscription from the Mac App Store, click Create Account and follow our guide to in-app purchases in ExpressKeys.
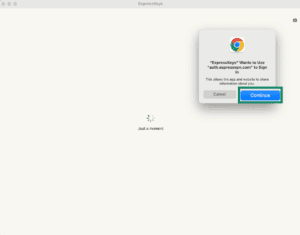
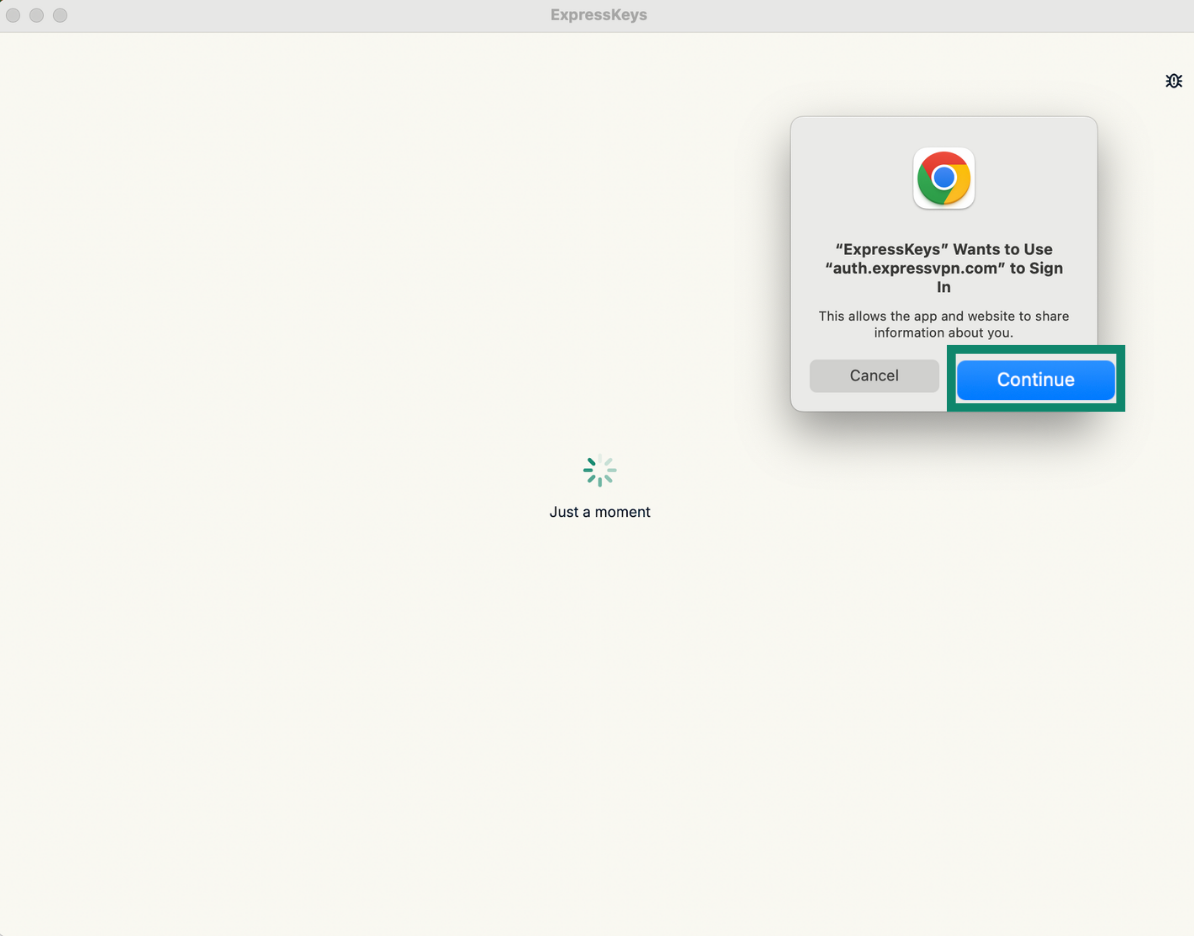
- You’ll see a pop-up saying “ExpressKeys” Wants to Use “auth.expressvpn.com” to Sign In. Click Continue.
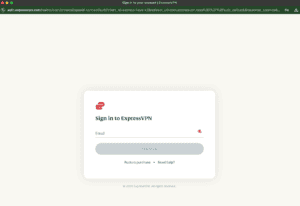
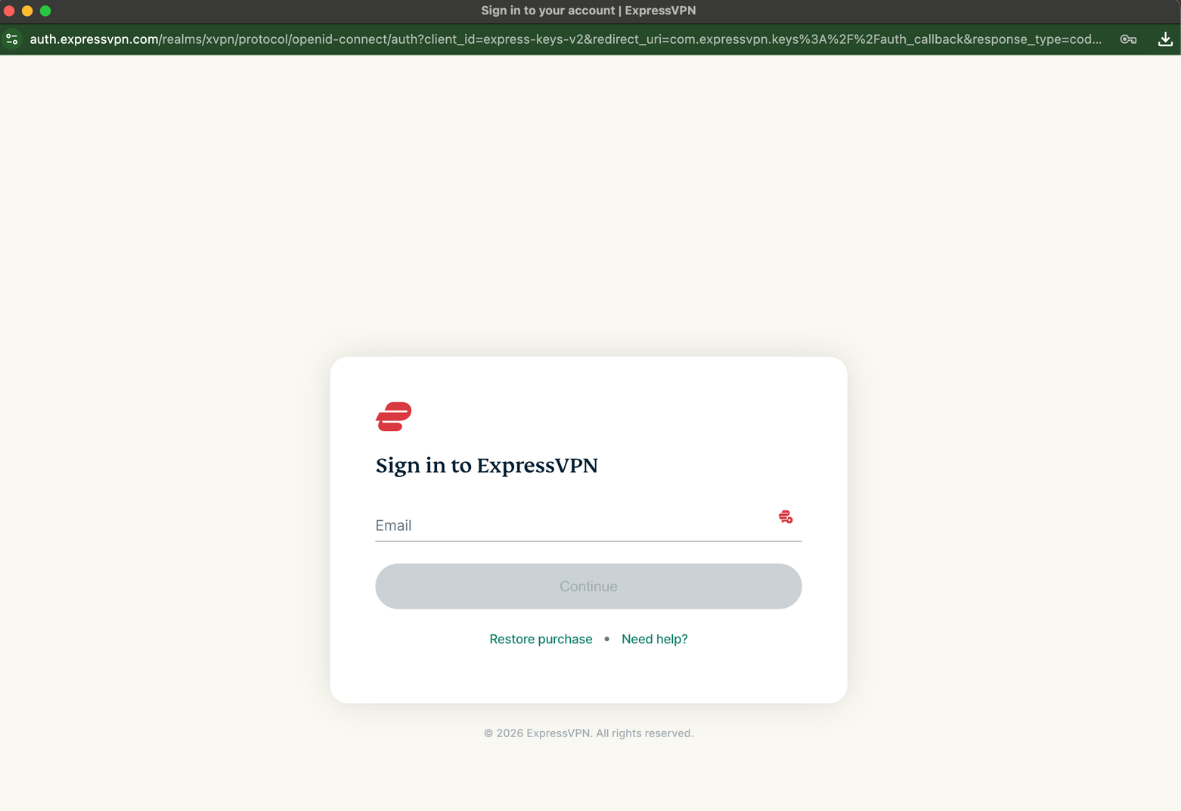
- This will take you to the ExpressVPN sign-in page. Enter the email address associated with your ExpressVPN account and click Continue.

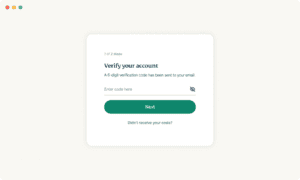
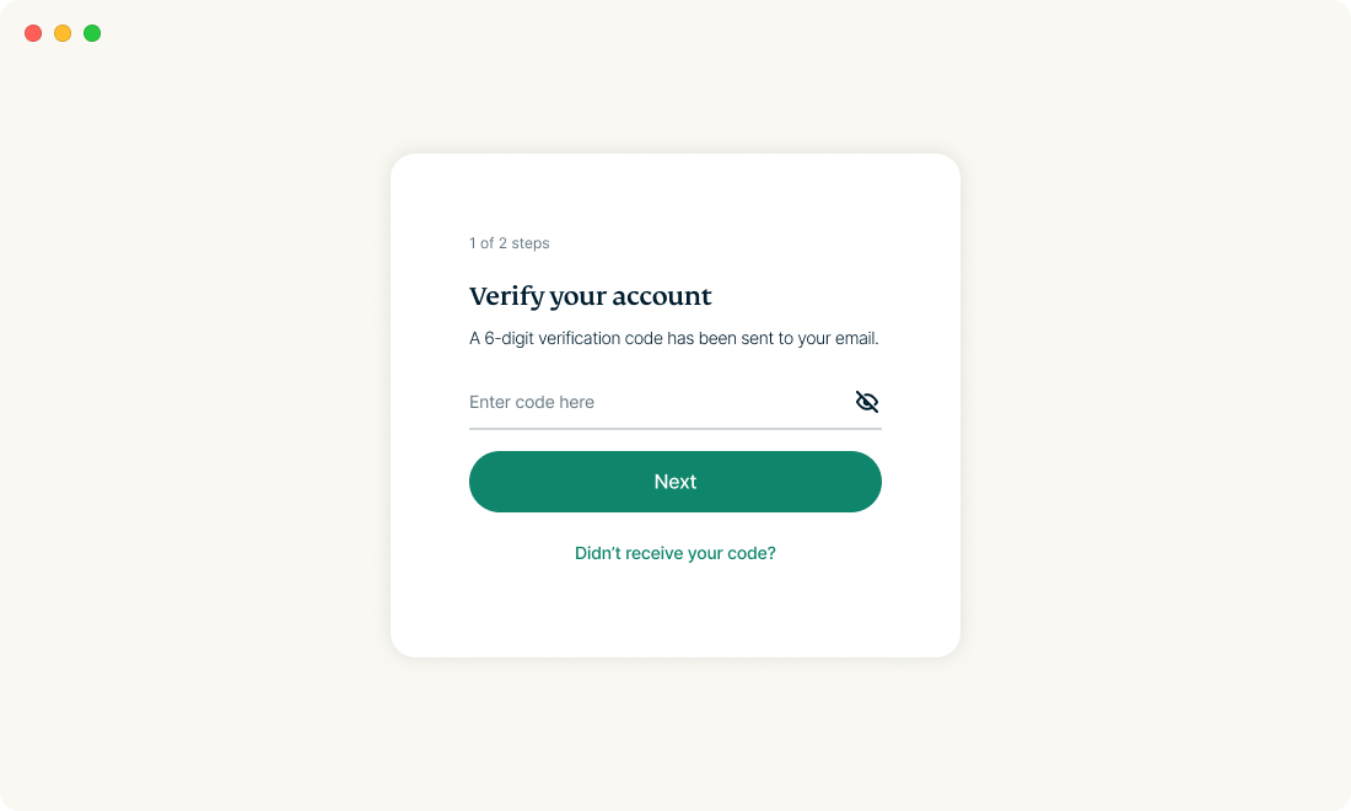
- A 6-digit verification code will be sent to your email address. Enter the code and click Next.

If you already have an ExpressKeys vault set up on other devices, skip to entering your vault password. If you’re new to ExpressKeys, proceed to set up your vault.
New ExpressKeys users: Set up your vault
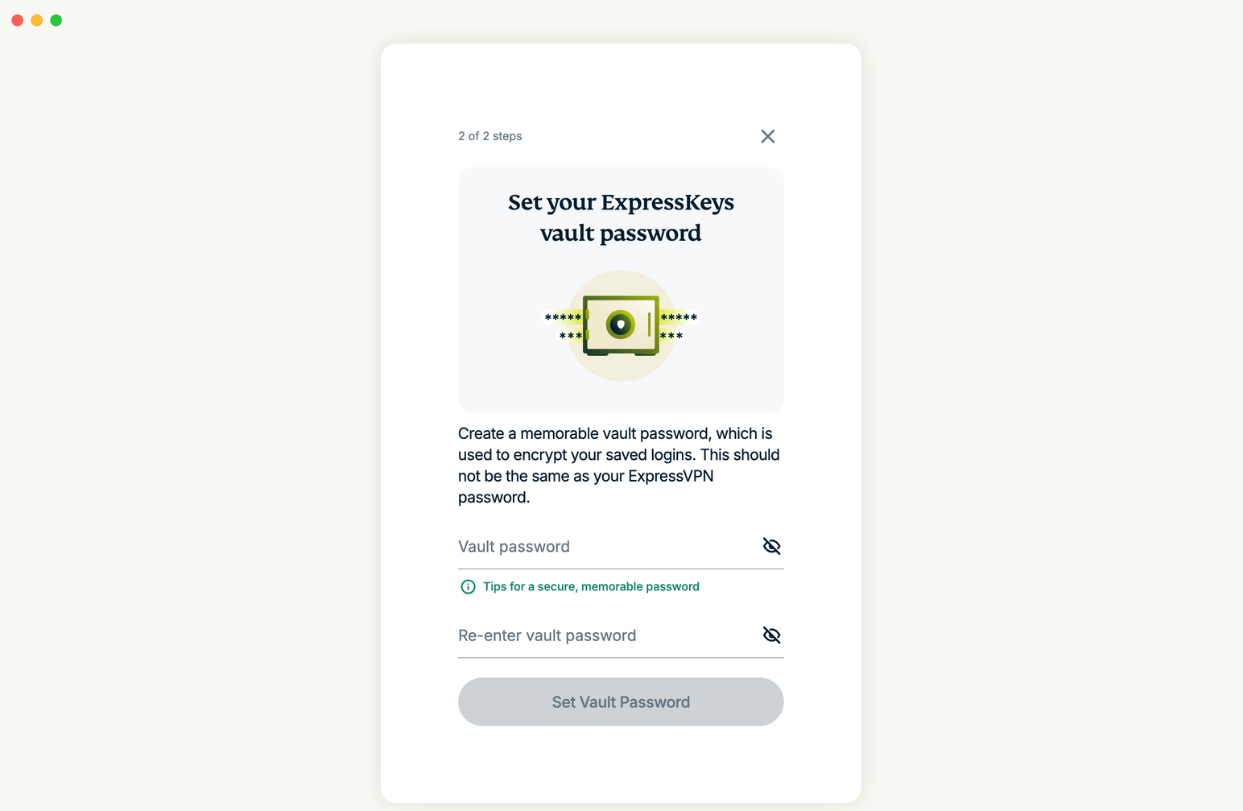
If you’re new to ExpressKeys, you’ll be prompted to set up your account:
- Choose your vault password and click Set Vault Password.
- Important: Use a strong password that you can remember. The vault password protects all the items saved in ExpressKeys with zero-knowledge encryption, meaning not even ExpressVPN can access it. Your vault password is separate from your ExpressVPN account password.

- Important: Use a strong password that you can remember. The vault password protects all the items saved in ExpressKeys with zero-knowledge encryption, meaning not even ExpressVPN can access it. Your vault password is separate from your ExpressVPN account password.
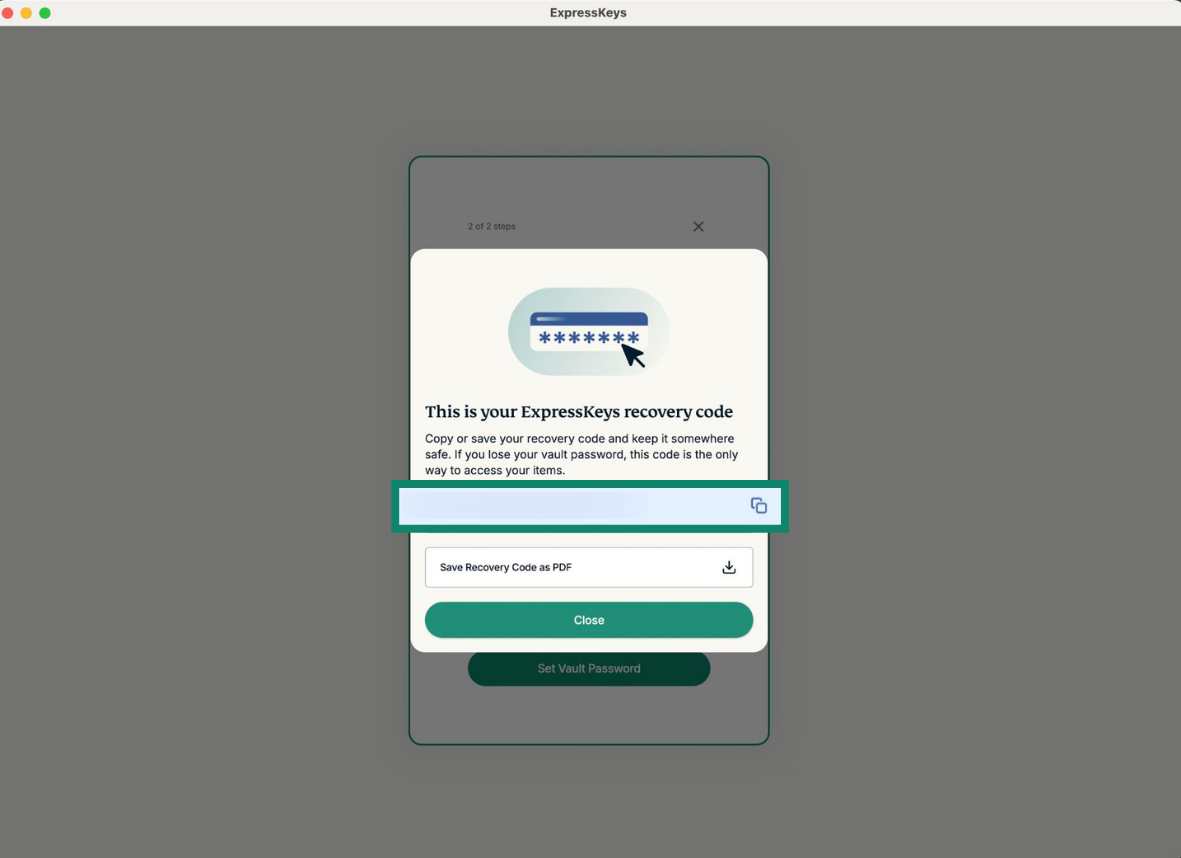
- You should see a pop-up with your ExpressKeys recovery code. Keep this in a safe place, as you will need it to unlock the app if you forget your vault password.

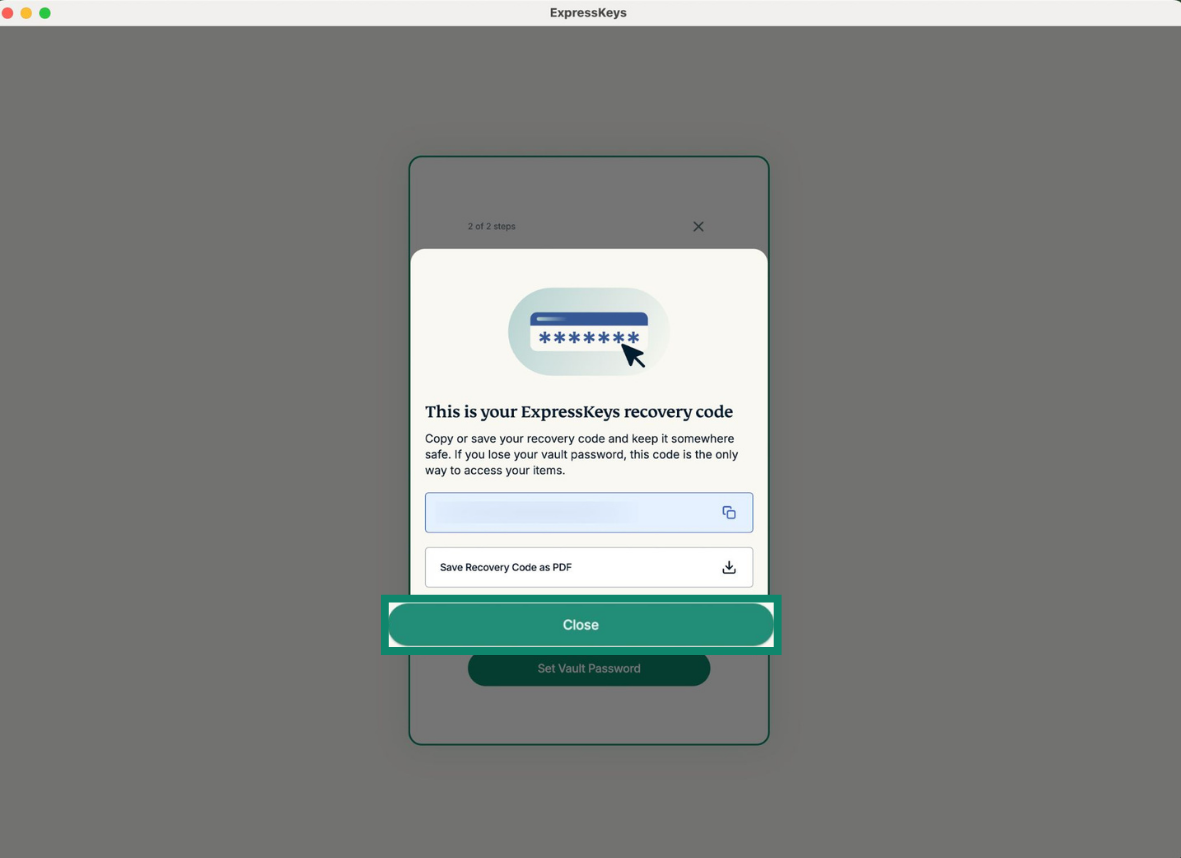
- Click Close.
New and existing ExpressKeys users: Log into the vault
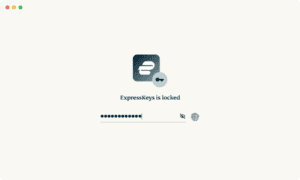
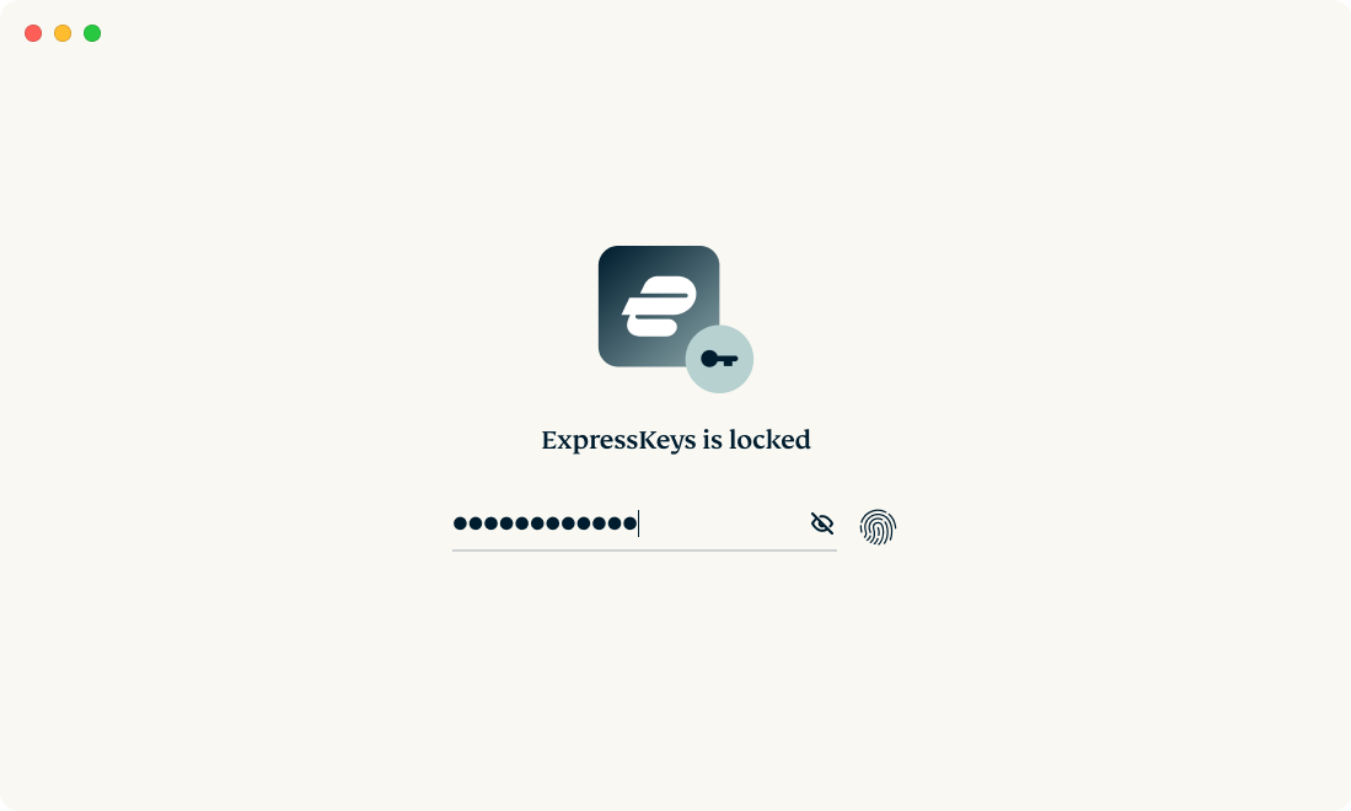
- Enter your vault password, then click Unlock.
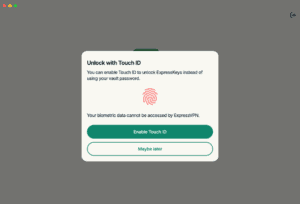
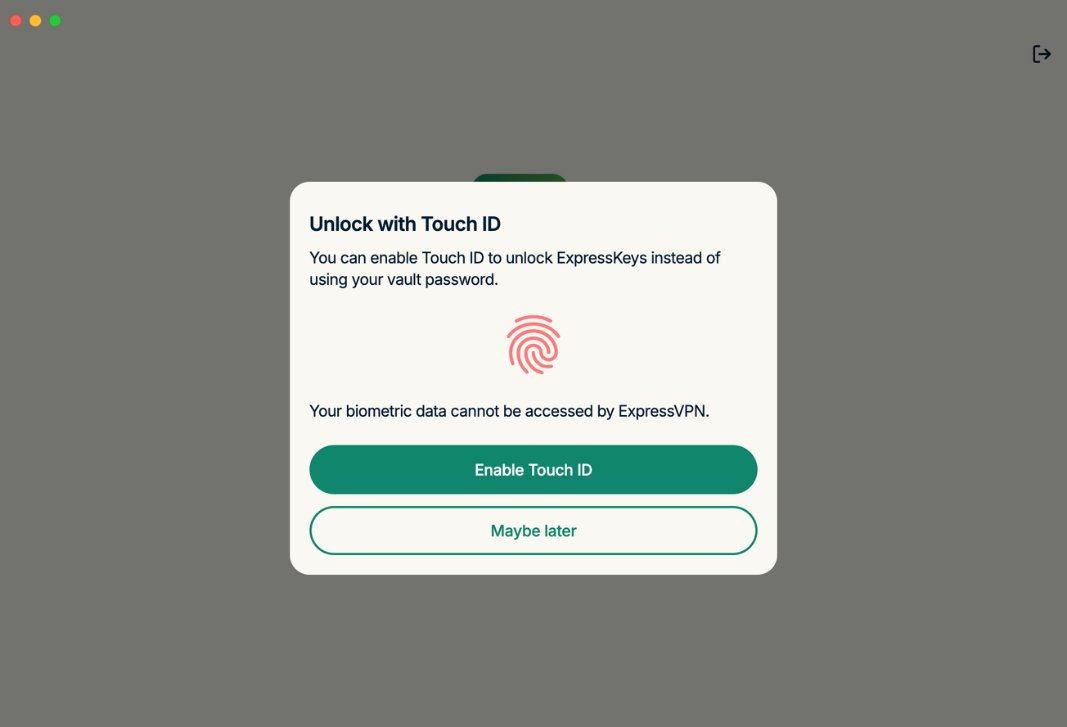
- If you are using a Mac with Touch ID, you should see a popup asking if you want to use it to unlock your vault. Select Enable Touch ID to allow this, or Maybe later to skip this step for now (you can also enable it later in your account settings).

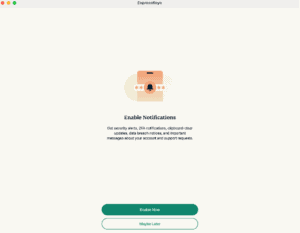
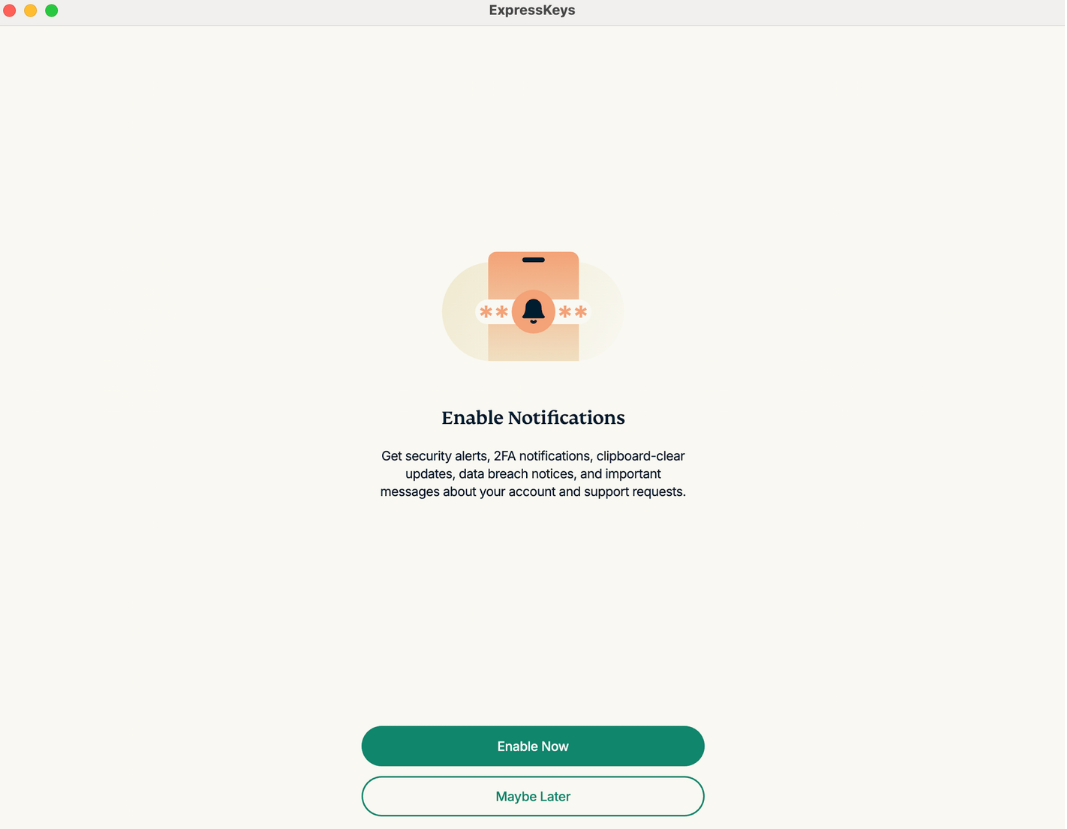
- You’ll see a notification screen. Decide whether to enable notifications to continue.

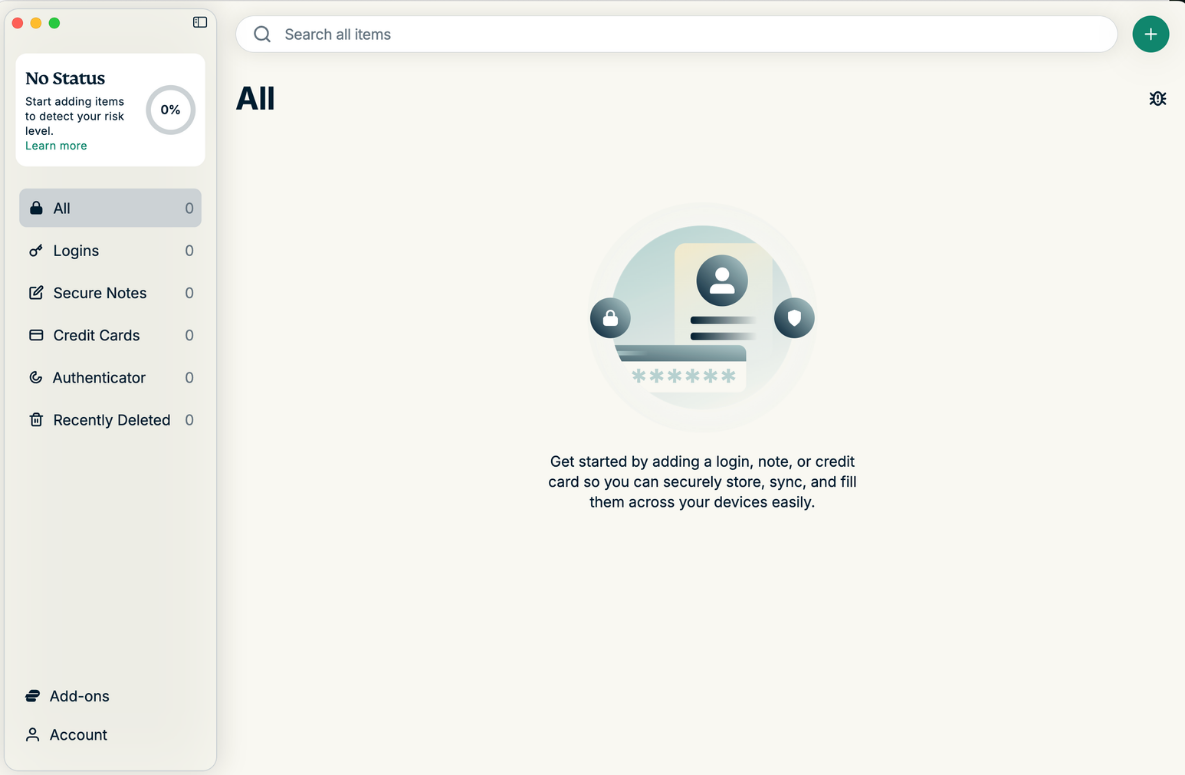
- You should now be logged into ExpressKeys, and the macOS app is ready for you to use.
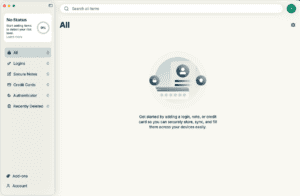

To get started, learn how to import your existing logins and save your first login.
If you also want to use ExpressKeys to sync passwords across your devices, learn how to set up the iOS app, Android app, and browser extension.
Need help? Contact the ExpressVPN Support Team for immediate assistance.